How Often Should You Change Your Vape Coil? A Step-by-Step Guide
Vaping has become an increasingly popular alternative to smoking traditional cigarettes. However, like any device, a vape pen requires proper maintenance to ensure optimal performance. One critical part of this maintenance is knowing when and how to change the vape coil. Below, we provide a step-by-step guide to help you determine when it’s time to change your coil and how to go about doing it.
What is a Vape Coil?
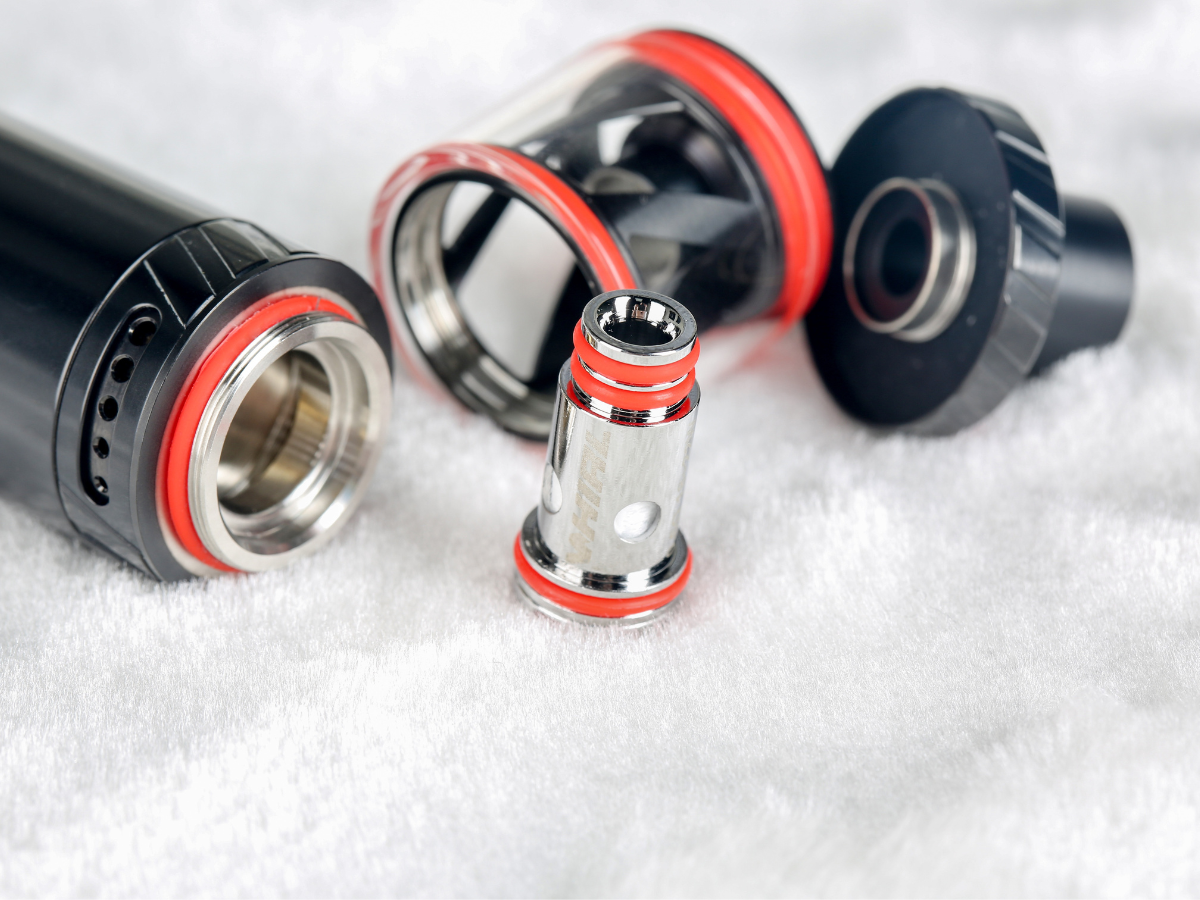
A vape coil is a component of a vape pen that heats the liquid, turning it into vapor. Over time, this coil can become dirty or worn out, which may result in a burnt taste or reduced vapor production.
Step-by-Step Instructions
Step 1: Know the Signs of a Worn-Out Coil
- Burnt Taste: A noticeable burnt flavor is one of the first signs of a coil that needs changing.
- Reduced Vapor Production: If the vapor production significantly decreases, it may be time to check the coil.
- Visual Inspection: A visual examination might reveal gunk or discoloration on the coil.
- Leaking Issues: If your device starts to leak, the coil may be to blame.
Step 2: Determine the Frequency of Coil Replacement
- Frequent Vapers: If you vape regularly, you may need to change your coil every week.
- Occasional Vapers: If you vape less often, your coil may last two to four weeks.
- Type of Juice: Heavily sweetened or flavored e-liquids can gunk up the coil faster, requiring more frequent changes.
- Wattage Level: Vaping at a higher wattage might wear out the coil more quickly.
Step 3: Purchase the Right Replacement Coil
- Consult Your Device’s Manual: The manual will specify which coils are compatible with your device.
- Buy from Reputable Sources: Ensure that you’re purchasing genuine products from a reputable seller.
Step 4: Replace the Coil
- Turn off the Device: Always start by turning off your vape device.
- Remove the Tank: Unscrew the tank from the device.
- Empty the Liquid: Pour out any remaining e-liquid.
- Unscrew the Old Coil: Carefully unscrew the old coil from the tank.
- Install the New Coil: Screw in the new coil, making sure it’s snug but not overly tight.
- Prime the Coil: Apply a small amount of e-liquid directly to the new coil to prime it.
- Reassemble the Tank: Screw the tank back onto the device.
- Wait a Few Minutes: Allow the new coil to soak in the e-liquid for at least five minutes before vaping again.
Conclusion
Knowing when and how to change your vape coil is essential for maintaining a satisfying vaping experience. By paying attention to the signs of a worn-out coil and following these steps, you can ensure that your device continues to provide optimal flavor and vapor production.
Remember, vape products are intended for adults and should be used responsibly. Always refer to the manufacturer’s instructions and consult with a knowledgeable vape shop employee if you have any questions or concerns about your specific device or components.