How to Set Up Your Vape Device for the First Time: A Step-by-Step Guide
Setting up a vape device for the first time can be an exciting but slightly daunting experience, especially if you’re new to vaping. This step-by-step guide aims to simplify the process and provide clear instructions to help you set up your vape device correctly.
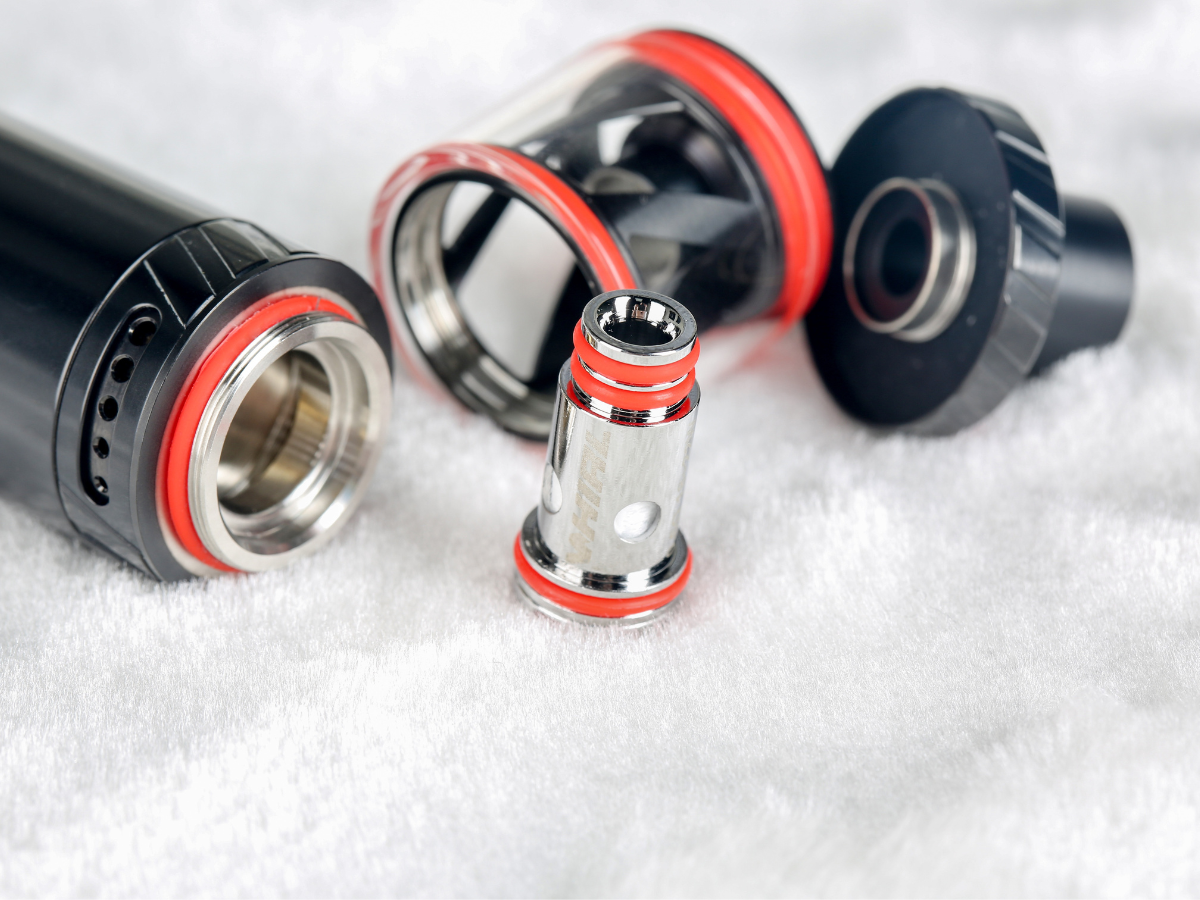
Step 1: Unpack and Identify Components
- Unbox Your Device: Carefully remove all components from the packaging.
- Identify Parts: Familiarize yourself with the key parts, including the battery, tank, coil, mouthpiece, and any additional accessories.
- Read the Manual: Consult the user manual for specific information about your device’s components and functionality.
Step 2: Charge the Battery
- Connect the Charger: Use the included charging cable to connect the battery to a suitable power source.
- Wait for the Indicator: Many devices have a light that will turn green or another color to signify a full charge.
- Disconnect the Charger: Unplug the device once it’s fully charged.
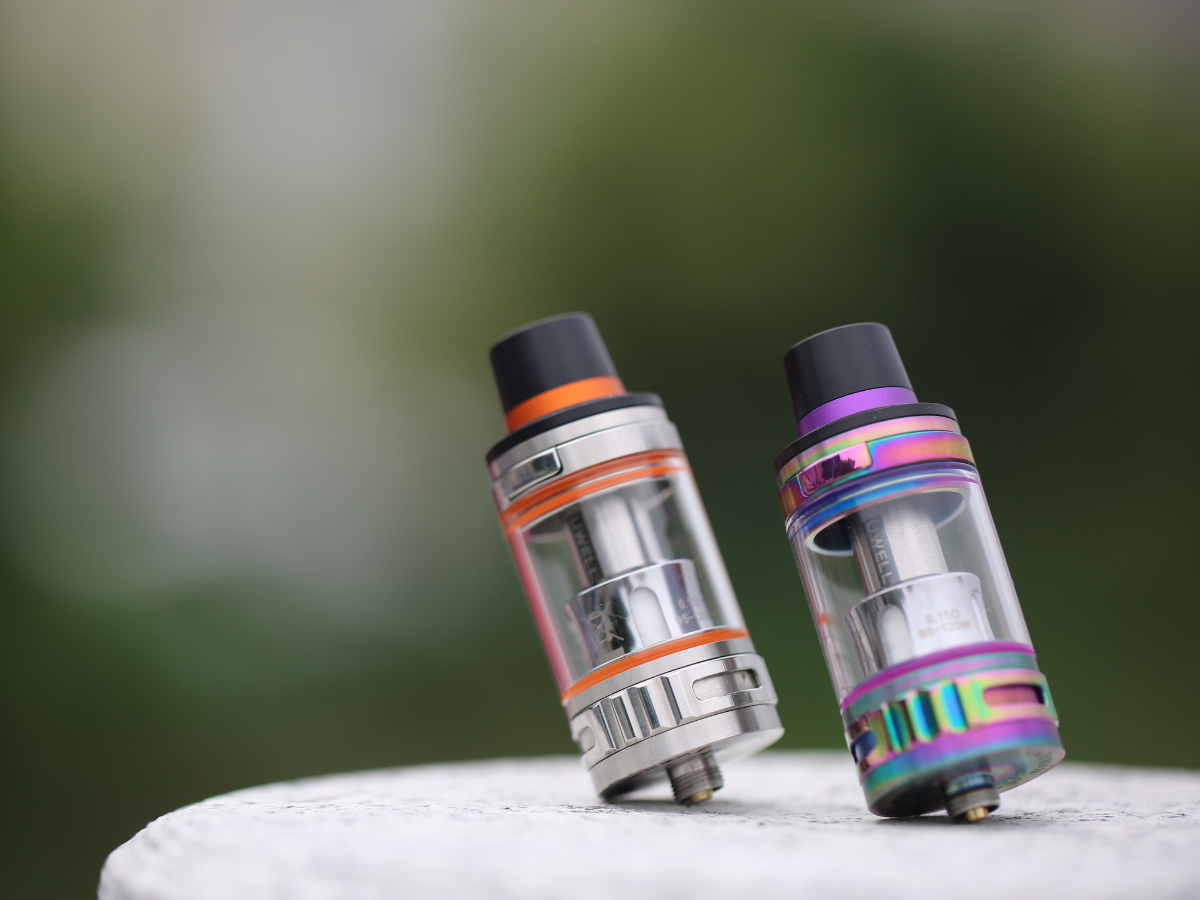
Step 3: Assemble the Device
- Attach the Coil: If the coil is not pre-installed, screw or snap it into place as instructed by the manual.
- Connect the Tank: Attach the tank to the battery, ensuring it is properly aligned and securely fastened.
- Add the Mouthpiece: If separate, attach the mouthpiece to the top of the tank.
Step 4: Fill the Tank with E-Liquid
- Open the Tank: Locate the filling port, which may be on the top or bottom of the tank, and open it according to the instructions.
- Fill with E-Liquid: Carefully pour or drip the e-liquid into the tank, avoiding the center airflow tube.
- Avoid Overfilling: Leave a small air bubble to create a vacuum, which helps prevent leaking.
- Close the Tank: Securely close the filling port.
Step 5: Prime the Coil
- Apply E-Liquid to the Coil: Drip a few drops of e-liquid directly onto the exposed cotton of the coil. This helps to saturate the coil and prevent dry hits.
- Wait for Absorption: Allow the coil to soak for 5-10 minutes, ensuring the e-liquid is fully absorbed.
Step 6: Turn On and Adjust Settings
- Turn On the Device: Typically, this involves pressing the power button five times in quick succession.
- Select the Mode or Wattage: If applicable, choose the appropriate setting for your e-liquid and coil. Consult the manual for recommendations.
- Adjust Airflow: If your device has adjustable airflow, set it to your preferred level of draw resistance.
Step 7: Take a Test Puff
- Press the Power Button: Hold down the power button while inhaling gently through the mouthpiece.
- Release the Button: Let go of the power button after inhaling.
- Evaluate the Experience: Adjust settings as needed to achieve your desired flavor and vapor production.
Conclusion
Setting up a vape device for the first time might seem complex, but with careful attention to the instructions and a little patience, you can enjoy a satisfying vaping experience. Always refer to your specific device’s manual for detailed guidance and heed all safety warnings.
Remember, vape products are intended for adult use, and proper care and maintenance are essential for a safe and enjoyable experience. If you have any doubts or questions, don’t hesitate to seek help from a reputable vape shop or the device’s manufacturer.